Showing posts with label tutorials. Show all posts

Tuesday, 1 September 2015

Hello sailor, all hands on deck... our swallow patch tutorial is here!

Summer's left us just like the swallows have left our northern skies.
They've flown south for the winter way too soon but fear not because we too can get some of that good feeling back with this cute sewing tutorial!


I've opted for adding my patches to a cardie mainly because I'm always cold... but these patches also work on shirts, dresses, tote bags or anything that needs cheering up!


Another great idea is to add them to some fabric shoes (you know the ones, those cute traditional Chinese canvas ones) adding some embroidered extra details like a sequined covered heart or some other tattoo inspired designs.
Lets face it... they are an old school tattooed sailor staple but are also quite girlie too which is something I absolutely love.

I'll be making quite a few though I hope I don't over due it with the  birdie theme... bah, who cares, I love them so I'm adding them to lots of stuff... shoes, bags, dresses, hair clips...whatever!
Oh well, could you really have enough?!


The ones pictured were made with scraps of letherette and felt but you can use fabric, felt or even paint the details on with acrylic fabric paint.

*Also a top tip which I found after I wrote up the tutorial is that if you use iron on double sided interfacing that it's even easier to add to your clothing!

To download the instructions and template PDF click "here"
Happy making!


Here are a few resources you might find helpful...
Iron on fusable interface fabric: www.cottonpatch.co.uk
Wool felt: www.bloomingfelt.co.uk
Although I've used a basic running stitch it doesn't mean you can't embellish your patches with other stitches:

Wednesday, 25 March 2015

Hop to it... Easter is just around the corner!

You'll know by now that I'm not a girlie-girl kind of girl so when I think of Easter and the Easter bunny my version has to be that of a black furred bad boy with a basket full of jewelled like eggs made of chocolate... very, very dark chocolate!


So for my first Easter tutorial I thought about making some ears... and yes, you guessed it they are black, though shock horror there is also pink glitter too!

Ha, OK so maybe I'm not that much of an anti-girlie girl after all but hey you can make your very own alternative bunny ears too by following my easy tutorial with your choice of colours.
Yes, pink glitter is optional!
Though I think a flash of colour is always great -it adds just the right amount of style!- having a solely black pair with black glitter will also look amazing!


This is what you'll need to make bunny ears just like mine:
Paper for pattern (for the ears)
black & pink felt
PVA or fabric glue
double sided sticky tape
glitter glue
fabric tape or ribbon
scissors
hair band
black thread, pins & a sewing needle


Step 1:
Add a section of double sided sticky tale to both ends of your hair band.
 Note: you can also add some to the middle for extra security....


Take some black ribbon or fabric tape and begin by folding over the base then wrapping over at a slight angle...


Continue to wrap the hair band completely until you've reached the other end...


You'll find that you might have to add an extra bit of tape or a dab of glue when you've reached the end. Fold over the tape to achieve a really nice and neat finish.


Step 2: 
Draw and Cut a bunny ear shape on some paper, then pin onto the black felt. Cut 2 shapes.
Cut 2 smaller shapes in pink - you can use a different colour! This will be the inside of your bunny ear.


Step 3:
Use some PVA or fabric glue and paste the back of the pink felt. Press firmly onto the black felt. Leave to dry for a bit.
Note: You can machine sew it on instead if you don't want to use glue. 


Step 4:
Take some glitter glue and generously cover the pink felt. Allow to dry completely.


Step 5:
Dab a tiny bit of glue on middle of the base of the pink felt and gently fold it inwards so it gives the ear a more natural shape.

Step 6:
Place a strip of double sided sticky tape on the base of the inside edge of the black felt ear shape.


Step 7:
Fold the base with the sticky tape over the hair band. Press tightly but gently so to glue it into place.


Step 8:
Sew the pinched area together to keep it together and also the base of the felt to the hair band.


Step 9:
You might want to give them a little jiggle on the back and sew a few stitches so they sit properly on the hair band...


And hey presto....

That's it!


Wear your Hare Band with pride, like a rockin' Easter Bunny!!!


X

Wednesday, 30 July 2014

5 minute tutorial...

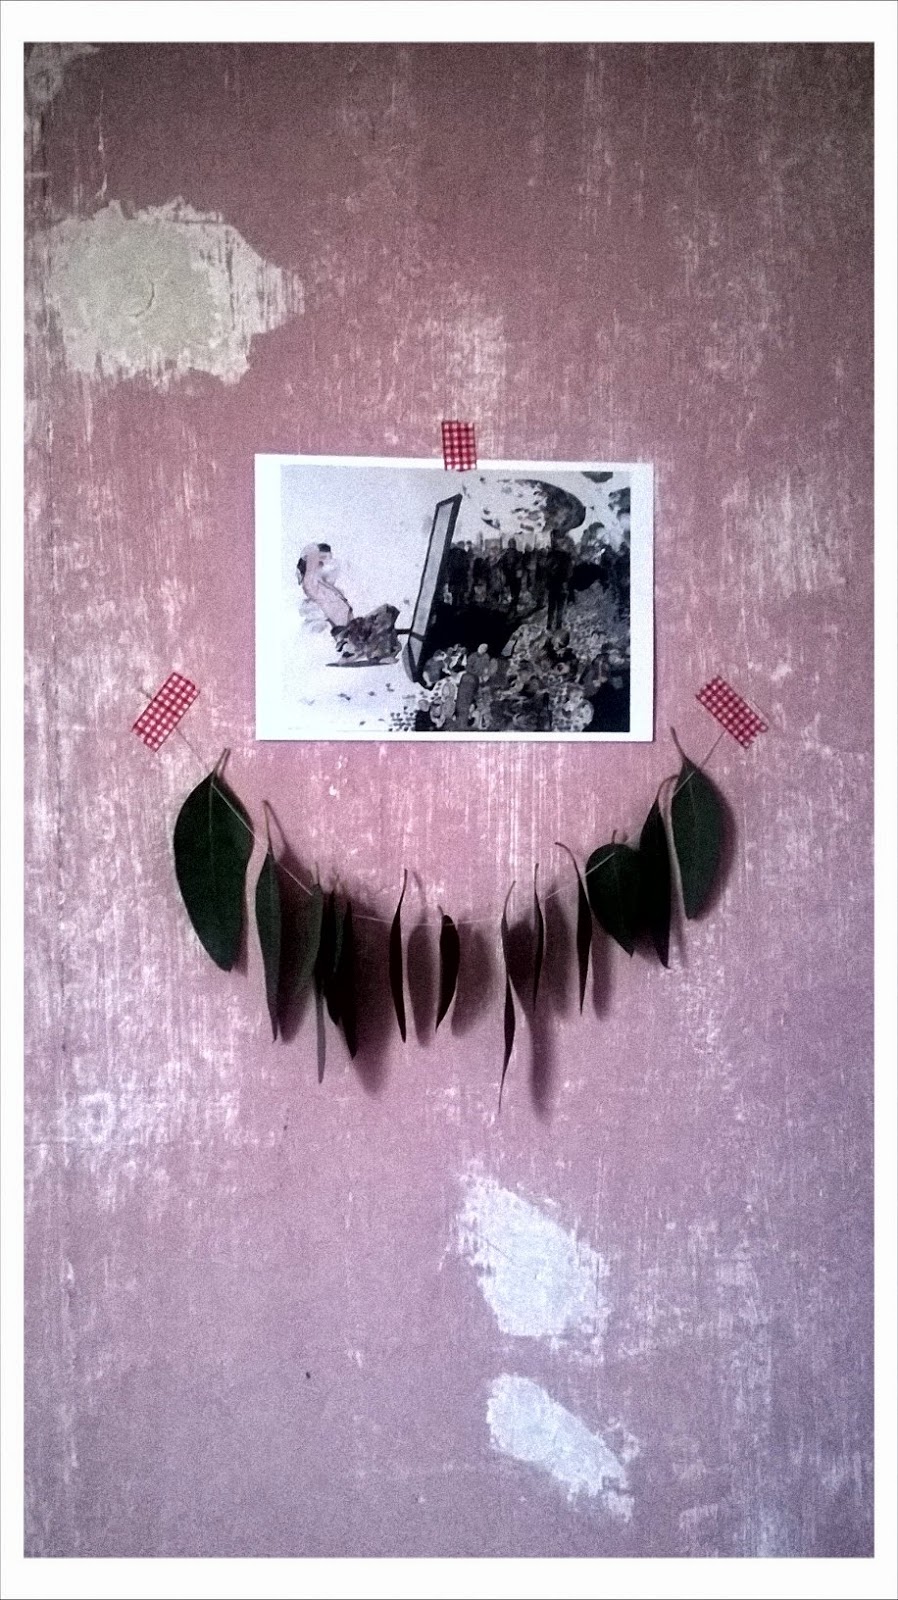
We all know about the amazing insect repellent properties of eucalyptus oil so here's a quick and simple 5 minute tutorial to help add a little greenery to your craft room -or anywhere else in your home!- and also to help keep those pesky insects at bay using fresh leaves!
But you don't have to use these as repellents either as they also make cute green bunting.
I like to add them to my home to give it a fresh look plus however subtle the smell of English Eucalyptus it does definitely permeate a soft forest smell to the room.

I also like to use these up once they are dry in winter to burn over charcoal to help aid breathing once the cold & flu season get going!
My nan was a sage old woman who used to harvest eucalyptus leaves in the Northern forests of Portugal for drying in the sun over summer and to have handy once the sniffle season began. See Nana Adelaide, I was listening and paying attention to you!


Eucalyptus leaf bunting and Stefanos Rokos print...
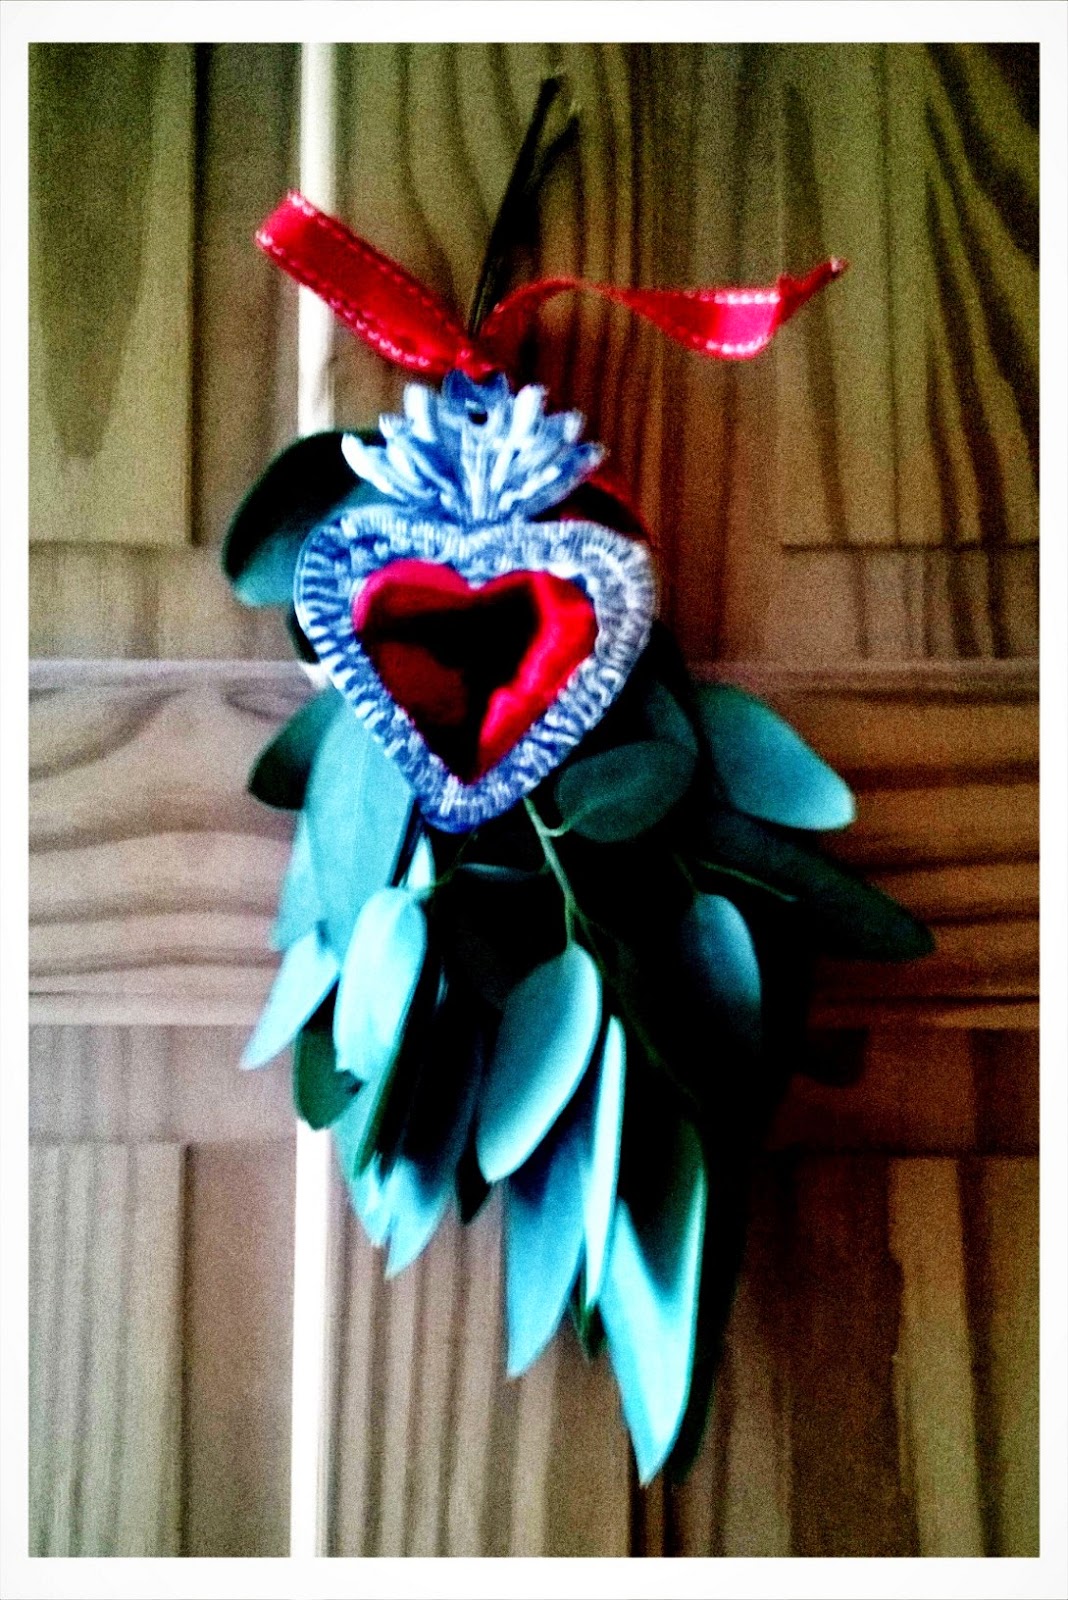
On a door a bouquet to add a bit of forest fun!

For the green bunting you'll need...
A few fresh eucalyptus leaves
cotton sewing thread
scissors
sewing needle


Here's how...
Clean your leaves making sure they are free from bugs and larva eggs. Don't wash as you'll remove the natural oils but use instead a clean paper towel or a little soft brush which will help remove dust and mites.


Take a piece of thread -approximately the size of your intended green bunting- and thread through a needle.

Pierce each leaf until you have the desired amount.


Make sure to knot each end so they don't fall off and also to create a point for tacking into place. Otherwise use washi tape to stick your bunting to your chosen location....
It also looks pretty on walls as subtle party bunting!!!

I've added mine to my craft room as I've tried pretty much everything to help ward off moths. It's now under control but I hope these and their powerful aroma will keep them off my beautiful cottons and linens!


Or use as decoration...


For the bouquet you'll need...
Stems/branches of fresh eucalyptus -As we don't have a garden of our own we used some from a kindly neighbour but please ask before you chop any down!
Pretty ribbon

Here's how...
Pretty simple really! Remove smaller leaves from the end of the branch. Take a nice ribbon or some twine and tie together into a pleasing bouquet. I put mine on the bed frame as we've had a few mosquitoes...with any luck this should help keep them at bay!


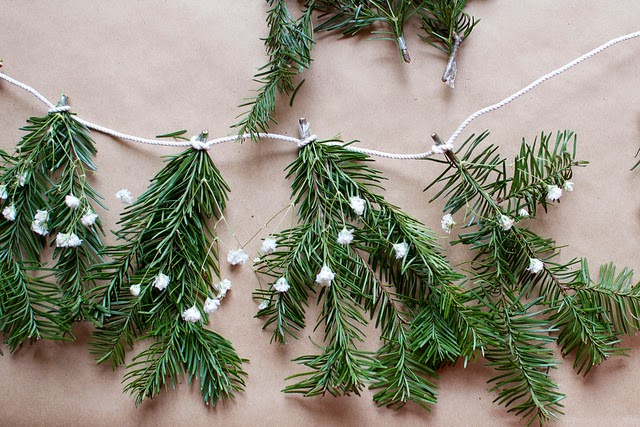
You can use other leaves and greenery like rosemary, lavender or any ever green shrub/leaves you fancy! This pretty Evergreen bunting is just so pretty... can't wait to make some more!

via: http://apairandasparediy.com/2012/12/diy-evergreen-bunting.html
That's it... and to be honest it's actually less then 5 minutes but...hey who's keeping time right?

Thursday, 12 June 2014

5 minute tutorial...

I love a good charity shop find and this little egg cup was just too sweet to resist!
As it looked back at me from the charity shop shelves I thought to myself  "Really, do I need you?" but in fact it prompted me into a challenge. What could I make which would be useful, pretty, yet super quick to make? Besides for 30p I couldn't walk away. And my purchase goes to help a charity so a huge "win" all round.


As I took it to the till in my head I was already thinking about how I could make it into something else... I mean I don't normally eat boiled eggs but I couldn't resist it's unusual mix of ceramic and wood.
Well egg cup you made me think outside the egg box and I came up with a very quick but handy tutorial which can be used on other bits of crockery too. The principal is the same. Tea cups, jam jars, coffee cups, little terracotta pots. All can be made into useful pincushions!
Yes, it's safe to say that I have a huge soft spot for pincushions. As you'll find this is not the first tutorial for making pincushions but hey... It's just one of those things that I can't get enough of! It's something so common yet not everyone will have one -and if they do they definitely will need another!- plus it's a great way to start you on your merry way into up-cycling not to mention that it also makes a great gift for anyone. I've said that before, haven't I? Ah yes, gift giving is a blast though I think I might keep mine for now but I'm sure I can find someone who'll absolutely love pincushions as much as I do!

In 5 minutes this is what you can make!!!


To make this egg-celent pincushion...this is what you'll need:
• An egg cup
• Cotton fabric- we used the smallest piece from our off cut bag
• Sewing needle & thread
• Card board
• Ric-rac or any ribbon- be as fancy as you like! Another great alternative is a pom pom trim which takes this to a whole new level of kitsch!
• Stuffing

Here's the making bit...

Step one - cut a small card board circle. This should be smaller then the circumference of your egg cup so it fits neatly inside. You don't want it to sit too close to the base nor the top but somewhere half way in...


Step two - cut a large circle of your fabric (about the size of a tumbler glass) and use a running stitch around the edge of your circle -about 2 cm in- to form a puff which will make your pin cushion.


Step three - when you reach the end pull the thread to form a puff but leave enough of an opening to add the stuffing...
Your fabric circle should now resemble a pouch...


Step four - Fill with enough stuffing to form a plump puff, add the card board circle over the stuffing and pull tightly so to form a tight puff and to keep the card in place. It also serves as a barrier so the needles//pins don't get lost in the puff nor come out the other side! Knot the thread securely into place.


Don't over stuff but make sure it's plump!

Pull and knot firmly!

You should have something like this...


back

front


Step five - Check the puff// pin cushion fits your egg cup!


Next form a loop with the ric-rac and stitch onto the edge of the puff. Stitch the remaining ric-rac around the edge to make it look pretty! *p.s. you can add extra details like a little button, a bow etc. Totally up to you! Also I realise I haven't done it but cut a smaller circle from your fabric and tack stitch to the back of the puff so it's super neat! I shall be adding this to mine later...

tabtastic... this will make it easier to pull off the pincushion top!


I used ric-rac but you can use lace, ribbon or leave it plain!


Step six - Add a few bits to the inside like spare buttons, safety pins, thimble, a tape measure etc.

Choose bits you use like buttons, pins and a tape measure... you can also fit a pair of folding mini scissors...


Note: The little loop tab is to help remove your pin cushion away from the egg cup!


And there you have it! That's it. It's very easy and super cute. Plus it can be done in no time though if you take a little longer don't worry... it probably just means that you're enjoying the making process so relax and give in to the craft!!!


©craftguerrilla.com 2014


Wednesday, 26 March 2014

New season, new accesories!!!

We love a good project and this has to be by far one of the most enjoyable ones we've done so far! Our friends at Heal's put forward the chance for us to use some of their amazing fabrics for us to come up with a few new ways of using them! You might have seen the previous pin cushion tutorial using the Zandra Rhodes fabric from Heal's and we do hope your birdie is by your side ready for action!

Because of the arrival of spring we thought it would amazing to post a few simple tutorials for some sweet accessories. Sometimes that's all you need to transform your outfit and your mood... a nice and simple easy to make craft project!

And don't you agree that these fabrics are quite amazing?  *Swoon* I can't quite make up my mind as to which is my favourite but they're all lush! I think I may have to go to Heal's to pick up some more to make a circle skirt...or two!

So here are a few ideas, we hope you like them.

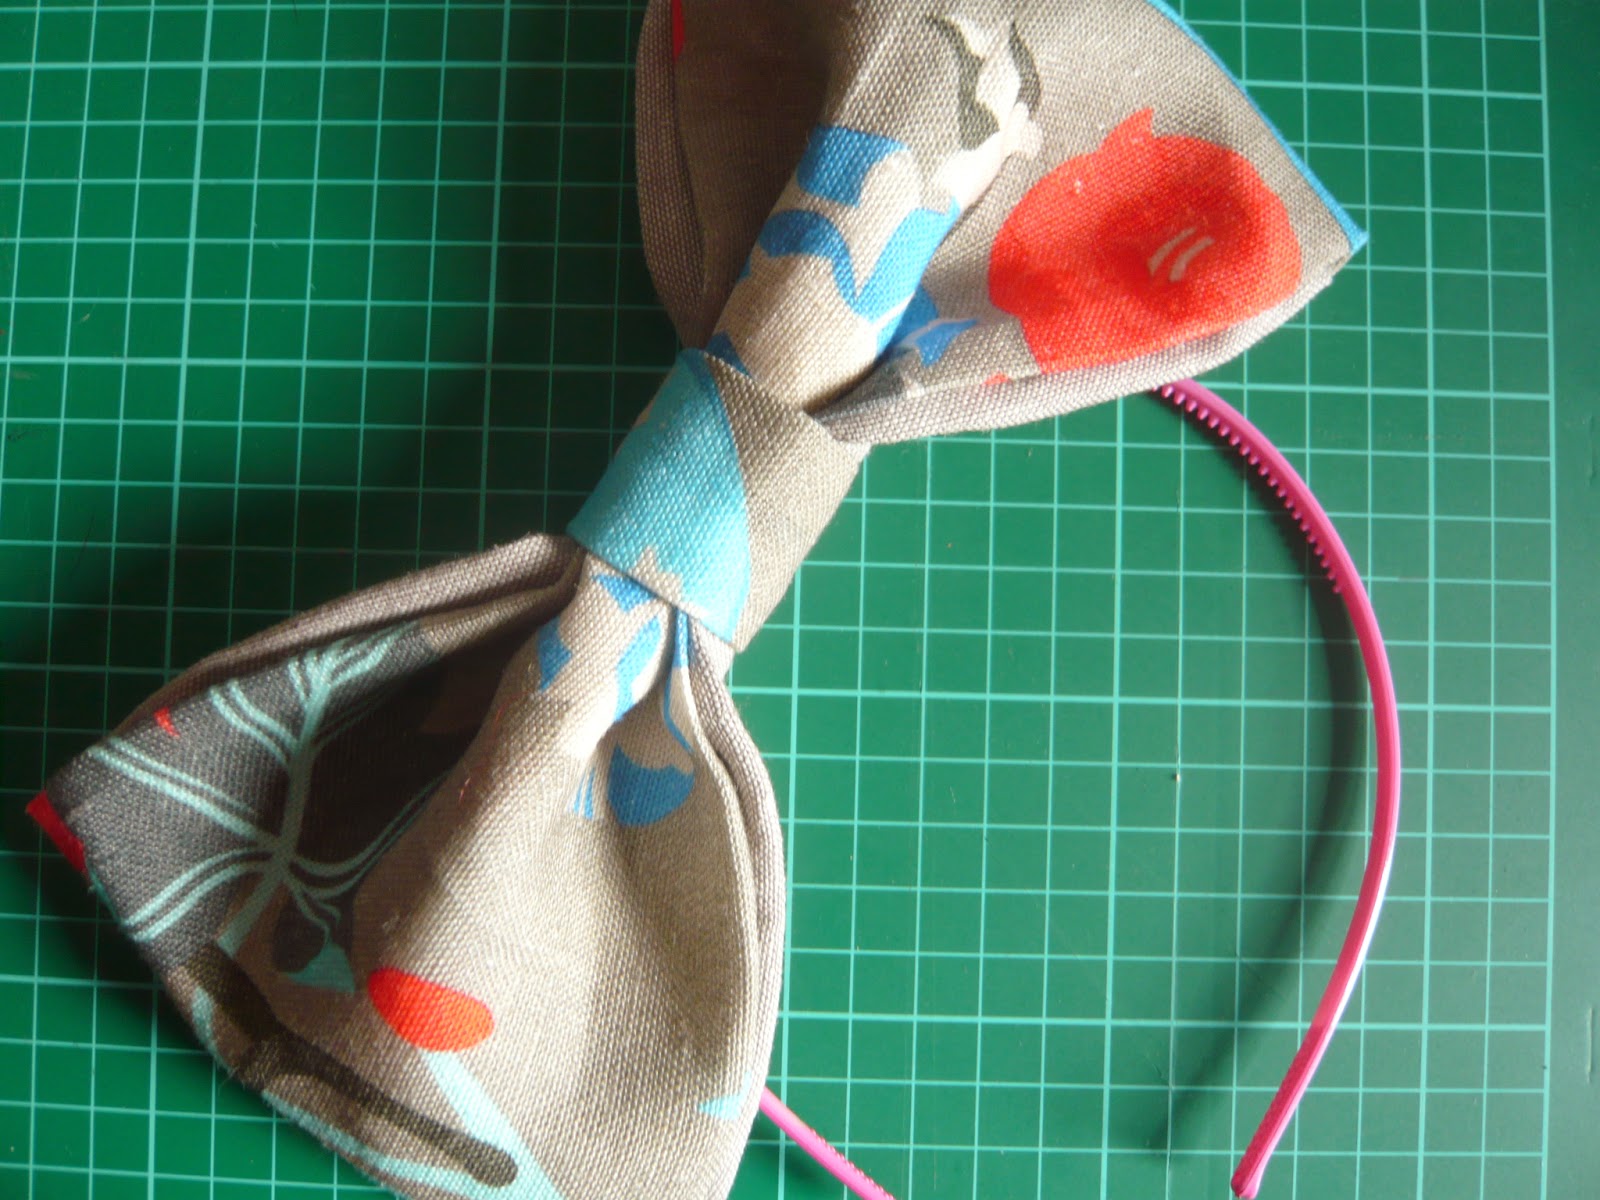
Hair bow.... 

It's Spring -a- go- go so wrap it up with a bow!


*Note: we added an Alice Band instead of a hair clip as this is one big bow so needs to stay put on your head!

For the tutorial take a peep here... BOW TUTORIALPRINT OUT 


We used the amazing "Lady Jane" fabric by Petra Borner which you can find in Heal's...


©ladyjane


Passing Clouds lace collar... 

Girlie and sweet, we love this!


For the pattern take a peep here... COLLAR PATTERN PRINT OUT
We used "Cloud Study" a stunning fabric by Emily Patrick available at Heal's. Plus we added a piece of vintage lace from granny's cupboard and some fine neutral linen as the lining.

©cloudstudy


How to:
For this you'll need to print out the pattern and cut it out-see the link above.
Pin over the three layers (if you are using all three...but we love how the clouds just come through the lace... kind of like an English spring!)
and cut out!
Pin the ribbon -we used cotton ribbon- between the two fabric layers.
Make sure to pin the fabric together so all layers hold in place. Zig zag the edges together so you have a nice raw looking edge. You can sew them together so it's a neater finish but we quite like the zig-zag detail.
Add a couple of buttons and hey presto... it's ready to wear!

You can see the lovely clouds under the soft lace... nice hey?
 

Art Deco Zip Clutch/Make Up bag...

For a nice bit of Spring time Great Gatsby chic!


For the tutorial take a peep here... thegirlinspired.com
*Note: We used this handy tutorial from ©girlinspired and added a large bow, a vintage shell buckle and a large pearly button to make it our own!

We've used the beautiful fabric "Trees" by Cressida Bell. Available at Heal's...

©trees

Add your own twist... just use your imagination and make it your own!!!

©all patterns -with the exception of the basic zip clutch - are property of Craft Guerrilla and though we welcome makers to make for their own purpose we do not give permission for these to be used commercially.