
The brief was to use the fabric samples to create things which we liked and where the fabric wasn't to be used rigidly for its original purpose.
You see...we're often told that certain fabrics are for specific projects but we've ignored all that! Besides who's to say that you can't use an upholstery fabric to create a skirt, a nice piece of head wear, jewellery or even a pin cushion?!
 |
By now you'll know that we're not sticklers at following the rules so we decided to think outside the box by coming up with four Spring flavoured crafty projects you can easily make with not much experience though if you are a dab hand at sewing you'll glide through it!
So here's the first of the projects we made to show just how versatile Heal's fabrics can be and also to get you inspired to stitch yourself silly into the new season!
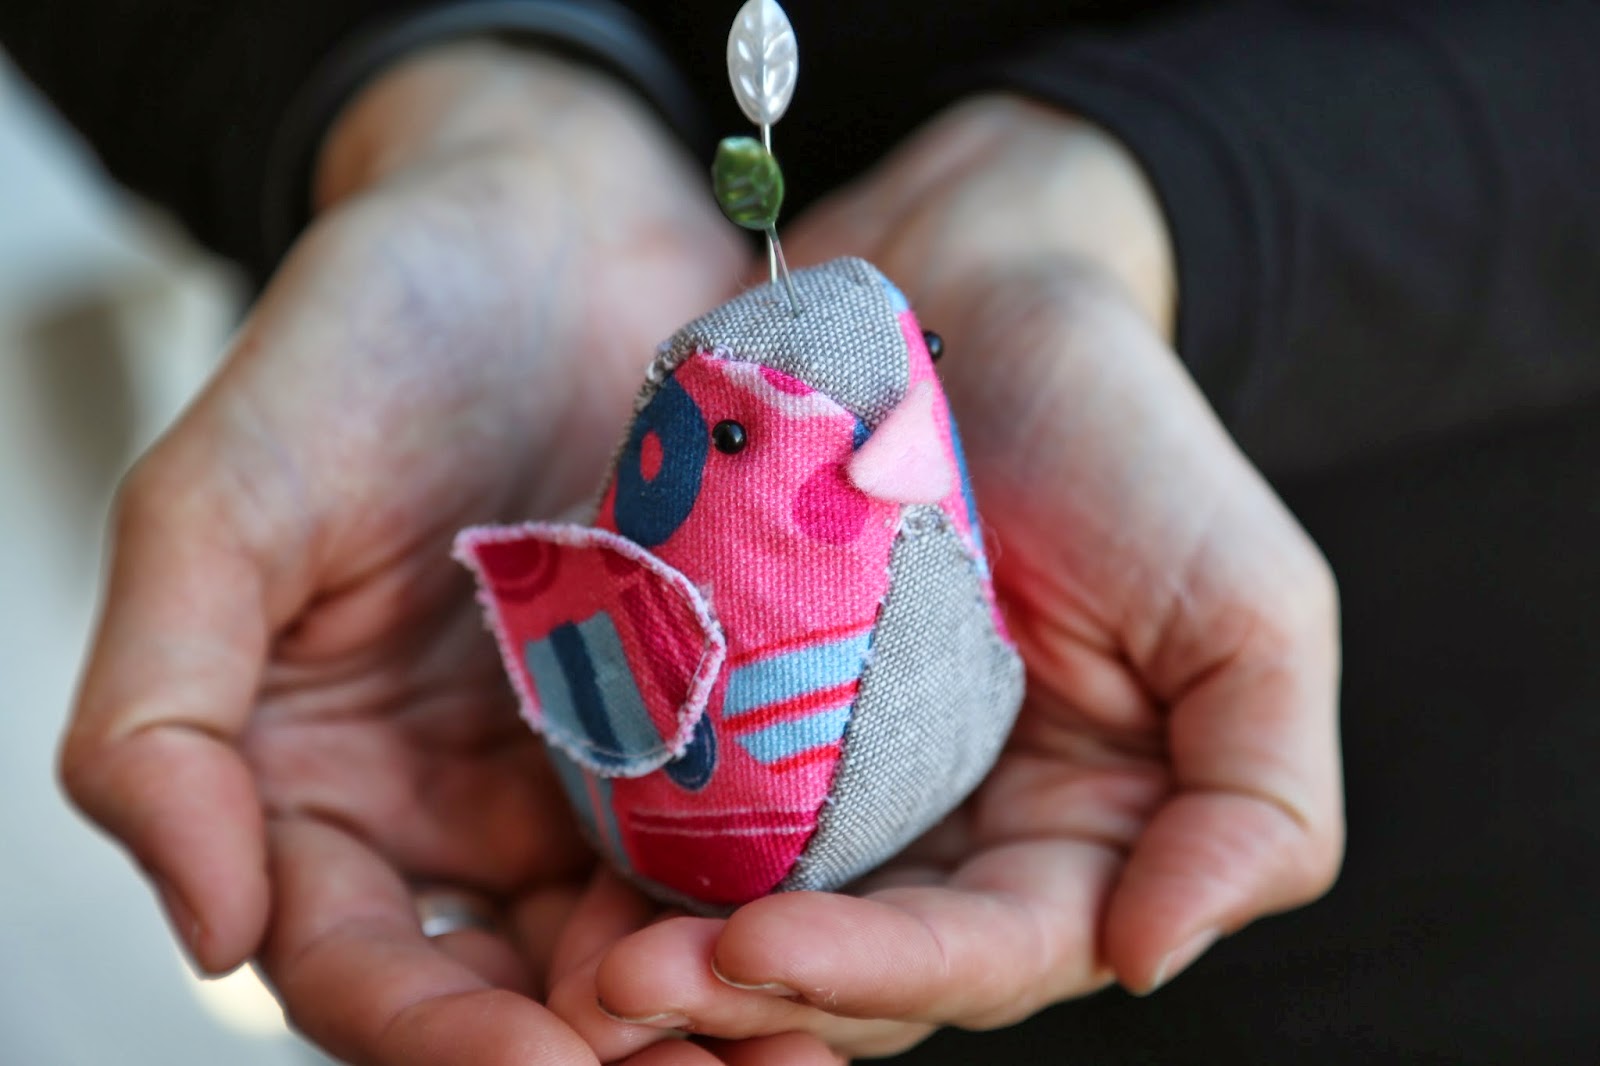
For project "numero uno" we went for something which is both practical and equally decorative which you can keep by your side when you move on to the next tutorials.
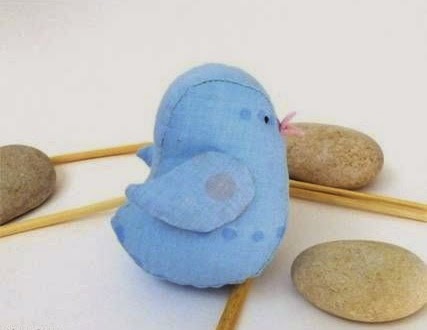
Also I quite love pincushions especially ones which aren't your stereotypical shape... so a birdie one is just right for me! Plus I seem to have accumulated quite a few as I have at least 3 of them in my studio, a few in my sewing box and a couple more dotted around the house. A girl can never have too many
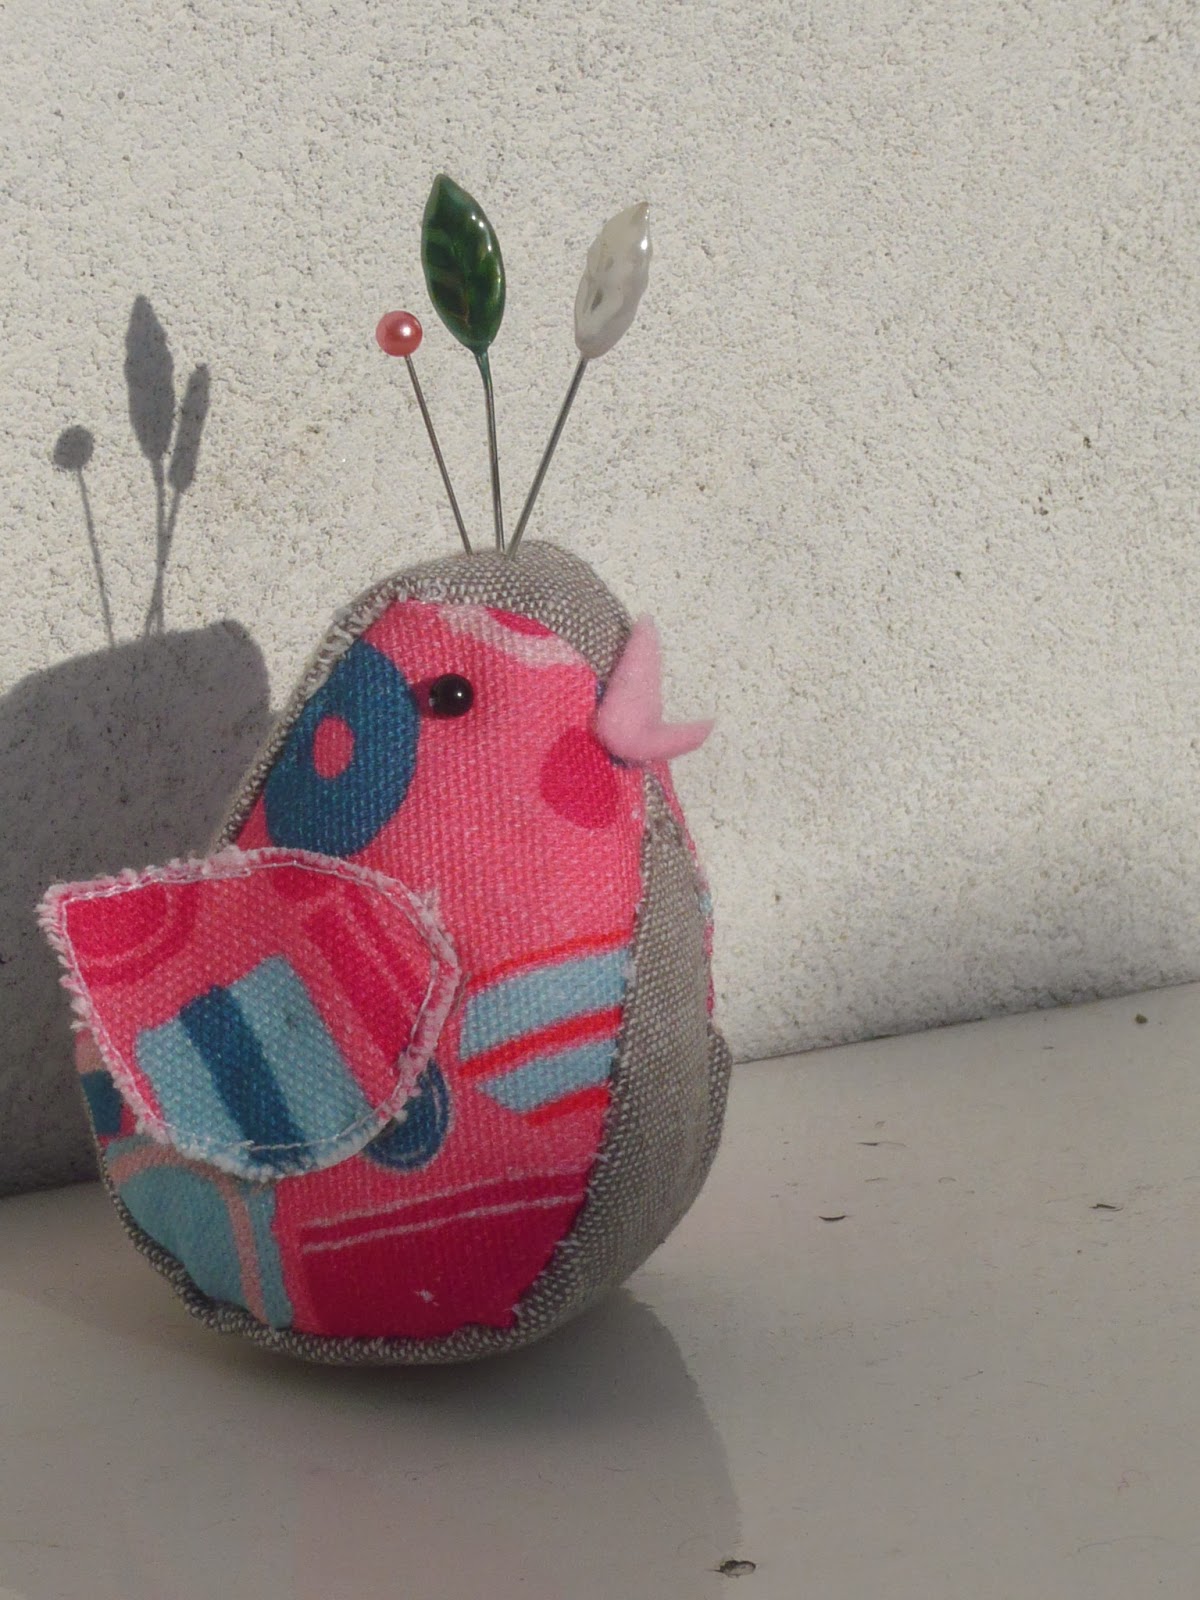
For this project we used the "Top Brass 2" Fabric by Zandra Rhodes and some natural linen to create a lovely two toned sewing accessory which will look great in any seamstresses sewing room!
This fabric is a heavy cotton canvas normally used for cushions and upholstery so it is quite nice and durable but pretty easy to sew though which is a bonus. However I did add some fusible interface fabric to keep it from fraying as this is a small object and because it was hand sewn was handled quite a bit.
This is what you'll need:
Iron & ironing board
Fusible interface
Scissors
Sewing needle and thread
fabric -we used two patterns but you could do a solid/plain coloured one using just one fabric
Poly-fill stuffing
2 beads (for the eyes)
Felt (beak)
Paper to make the pattern
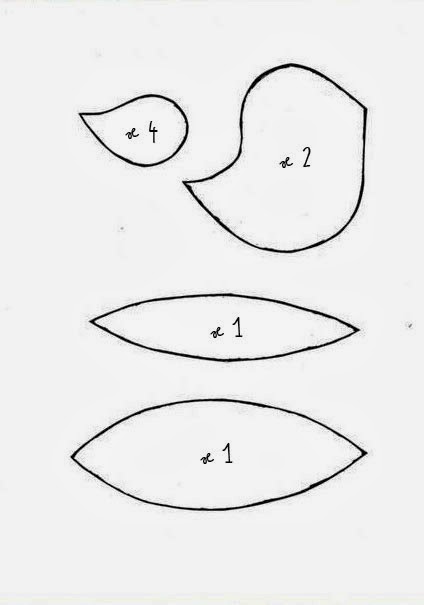
To make this little bird follow the pattern bellow and see the on line tutorial via: www.lovethispic.com
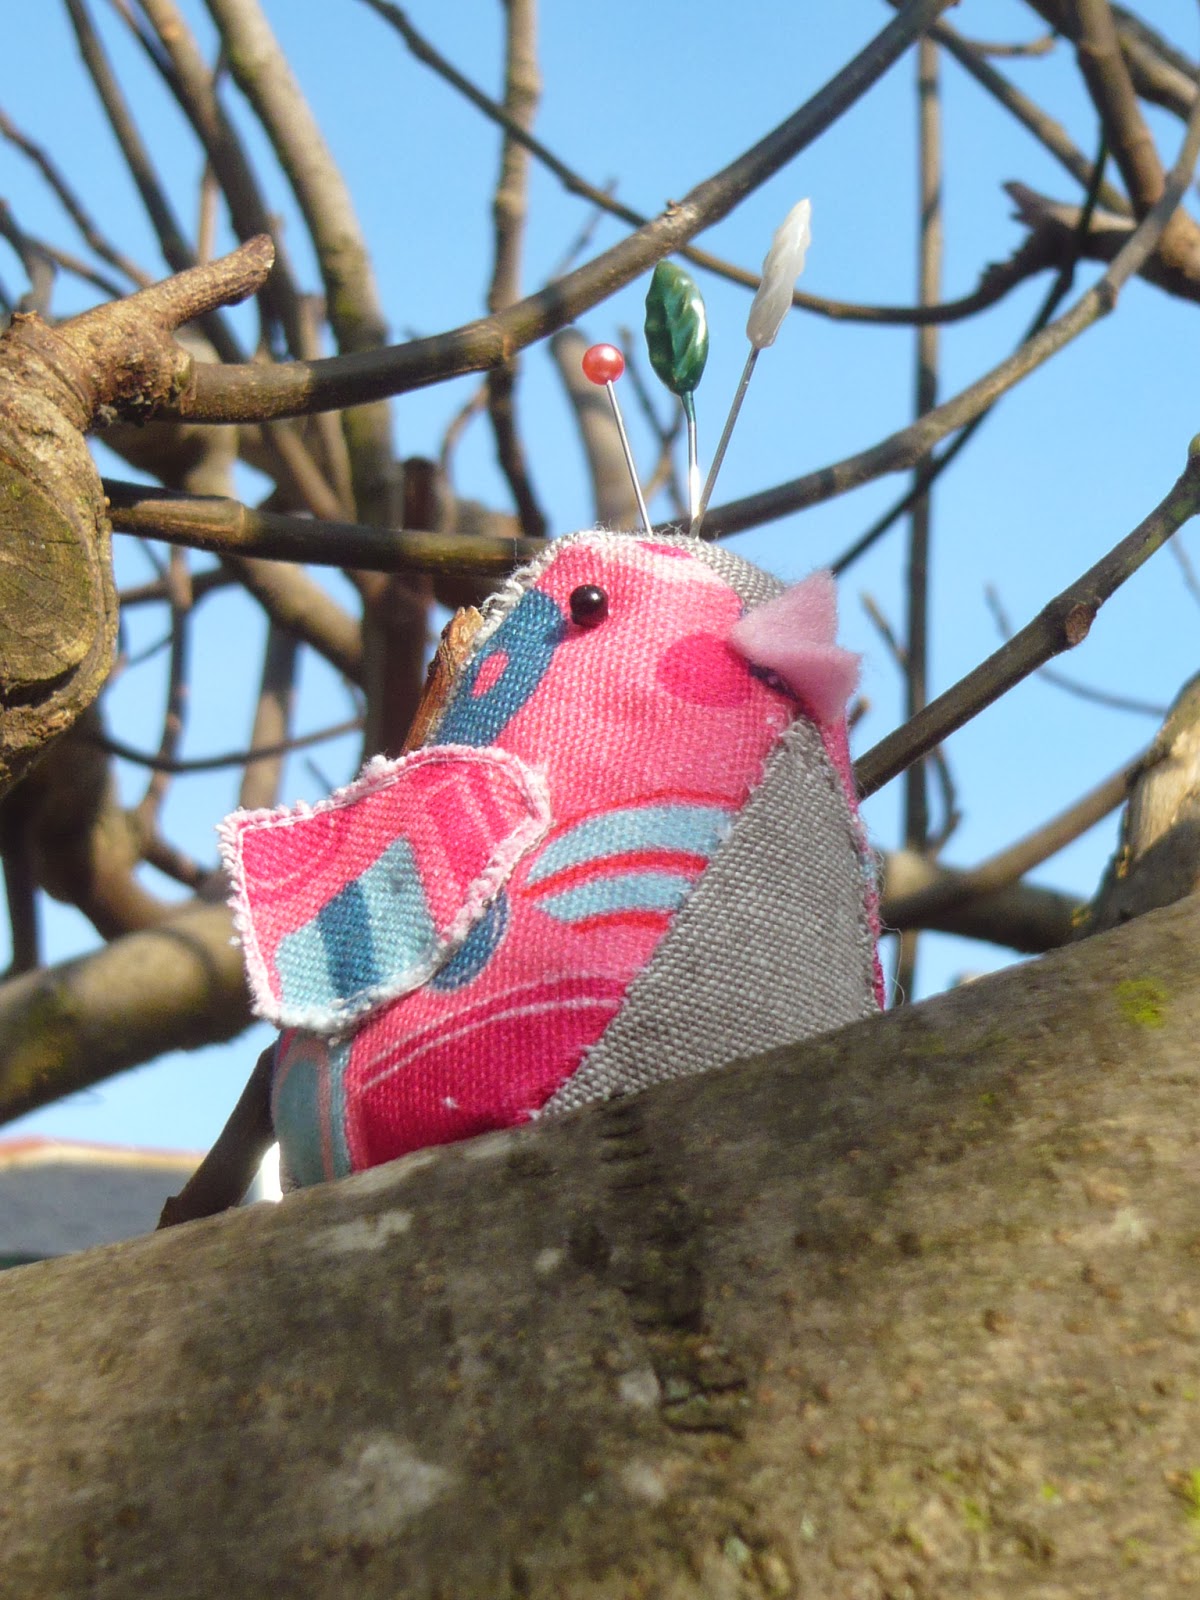
By the way we used the tiniest piece of fabric so you could in fact initially make a cushion, reupholster a chair and so on and from the scraps make something else... like this!
Yeah, we really don't like throwing anything away and this little birdie will be most helpful when you get started on your other projects plus he'll remind you that all the other real birdies are grateful for a little less stuff in landfill!!!
Here are a few more ideas you can make from this pattern:
• Make a few to create a baby mobile on a twig frame.
• Or enlarge the pattern and make a handy door stop. Just fill with sand and it'll keep your door open for letting in the bird song!
Whatever you decide to make from this tutorial we hope that you've at least been inspired to make something! It's really easy so no excuses...
The little bird pin cushion was based on an on line tutorial for a bird toy available via amigurumik.com
The original designer retains the copyright of the design/pattern but we have adapted the use for our own project.
Below is the step by step tutorial which has been modified by Craft Guerrilla.
So here's the tutorial...
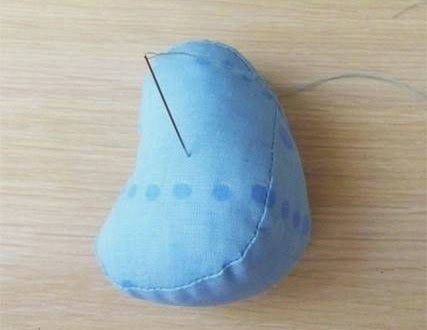
Step 1: Print out or draw your pattern. Cut out the shapes...
 |
| ©amigurumik.com |
 |
| ©amigurumik.com |
 |
| ©amigurumik.com |
 |
| ©amigurumik.com |
 |
| ©amigurumik.com |
And...
Tah dah, that's your pin cushion done!!!

No comments:
Post a Comment